Turn on the Ventilation System
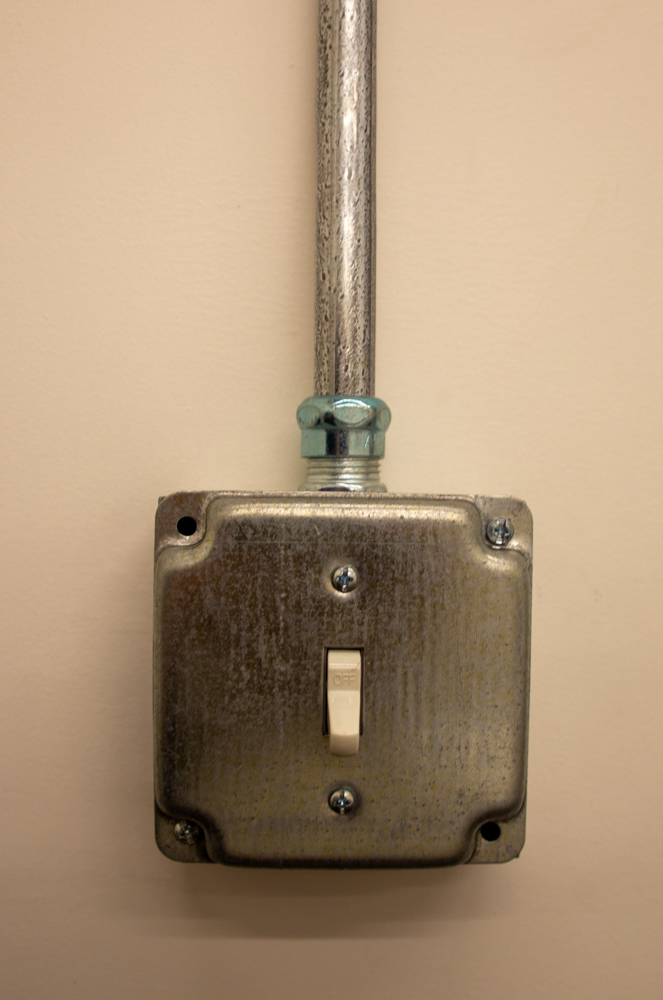
Use the wall switch labeled Vent Fan to activate the exhaust system. This removes harmful smoke and fumes from the cutting area.
Before operating the BOSS LS-2440 laser cutter, follow these steps to ensure safe and proper startup. Each step below should be completed in order before opening your LightBurn project or running a laser job.
Use the wall switch labeled Vent Fan to activate the exhaust system. This removes harmful smoke and fumes from the cutting area.

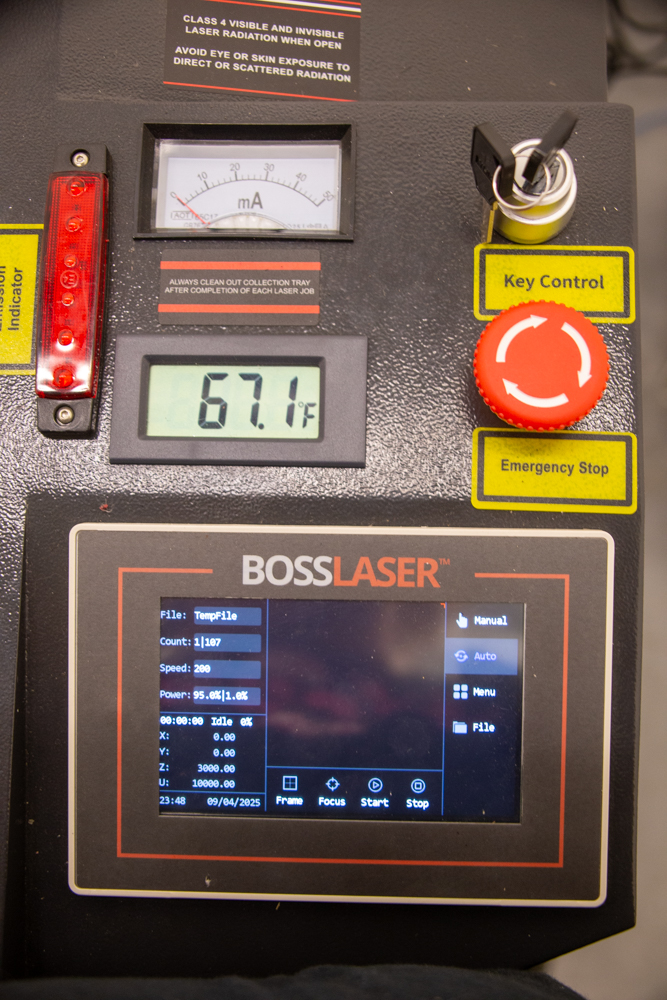
The chiller keeps the CO₂ laser tube at a safe operating temperature. Wait for the temperature display to stabilize between 18–22°C before proceeding.
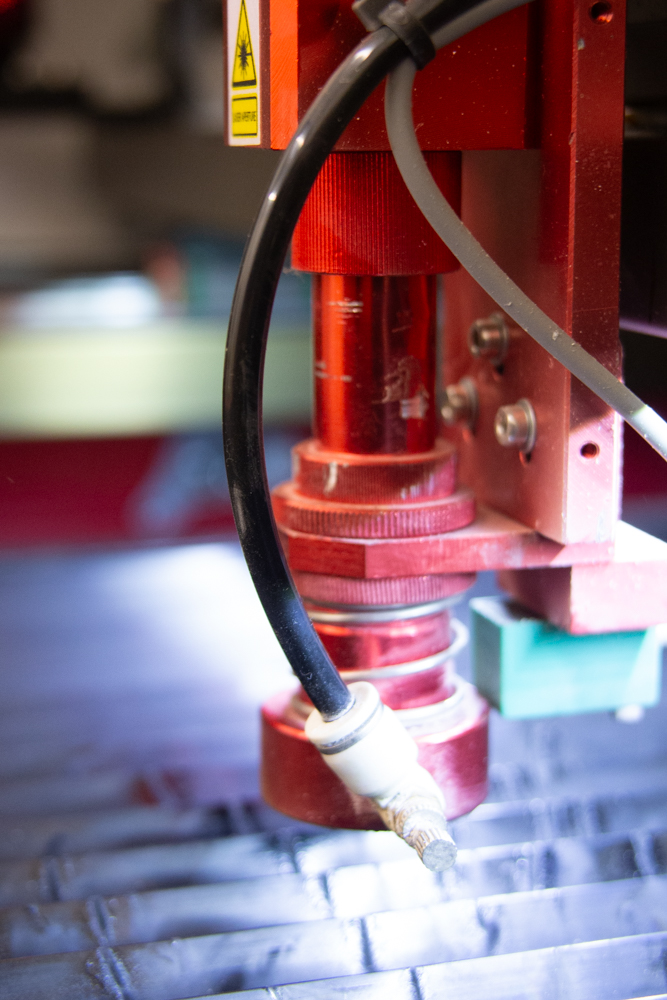
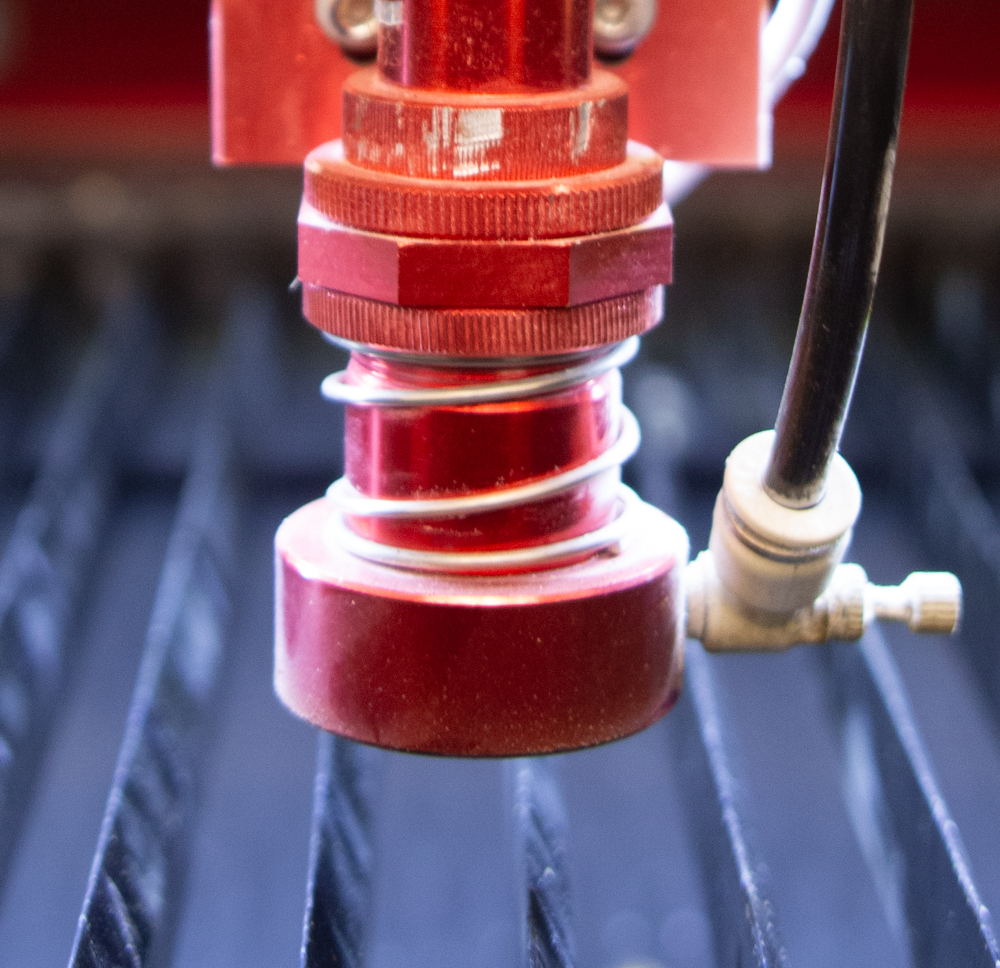
This system blows a constant stream of air near the laser head to prevent flare-ups and improve cutting quality. Confirm airflow is active at the nozzle.
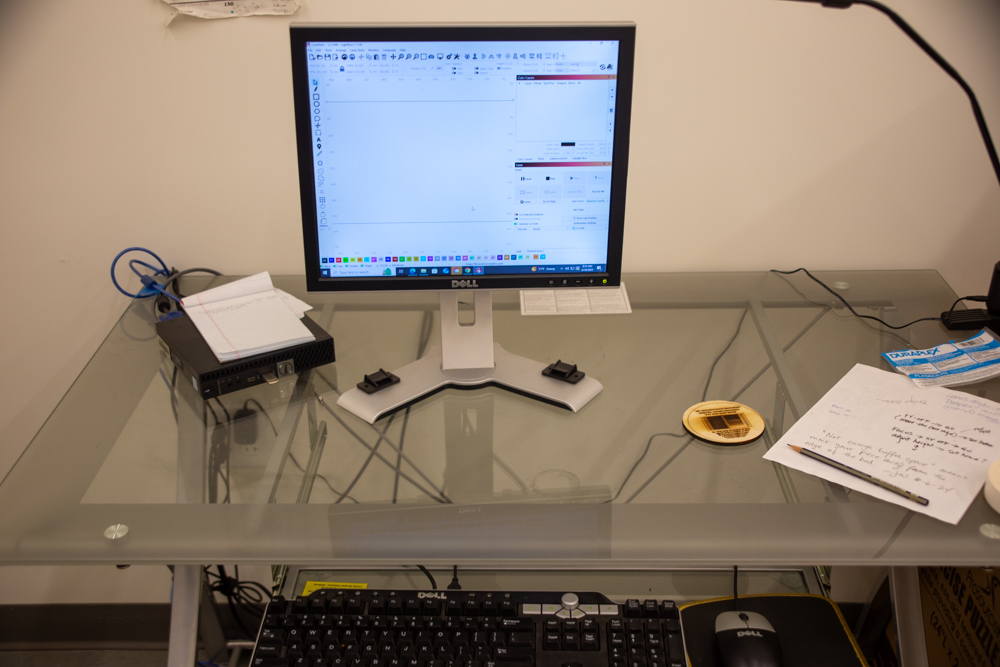
Start up the PC connected to the laser cutter. This is where you’ll load and prepare your project in LightBurn.
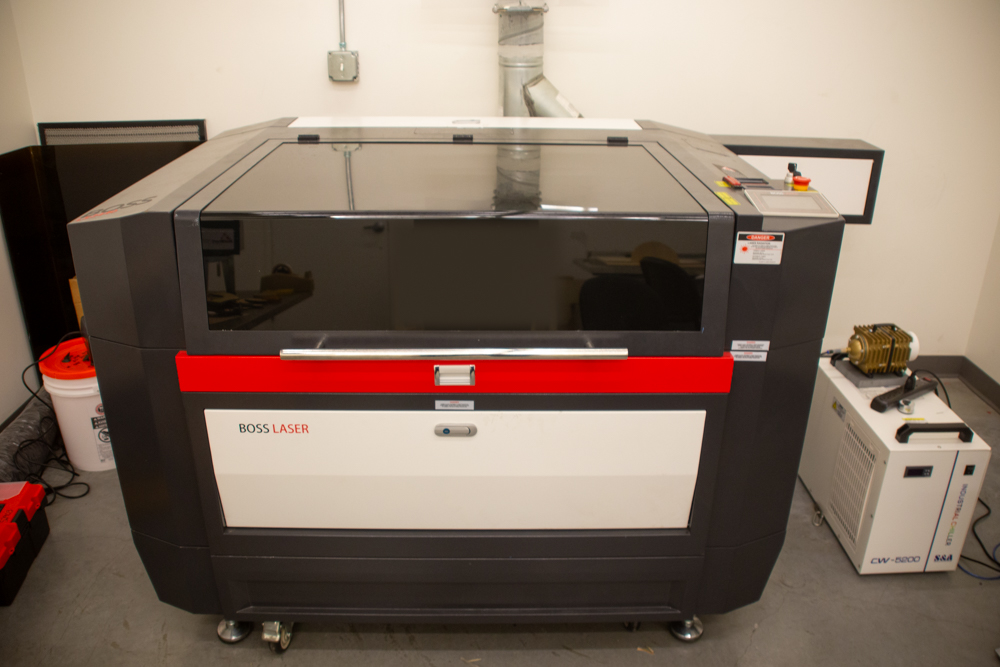
Turn the key control on top of the machine to power on the LS-2440. The control panel will illuminate and go through a brief boot process.
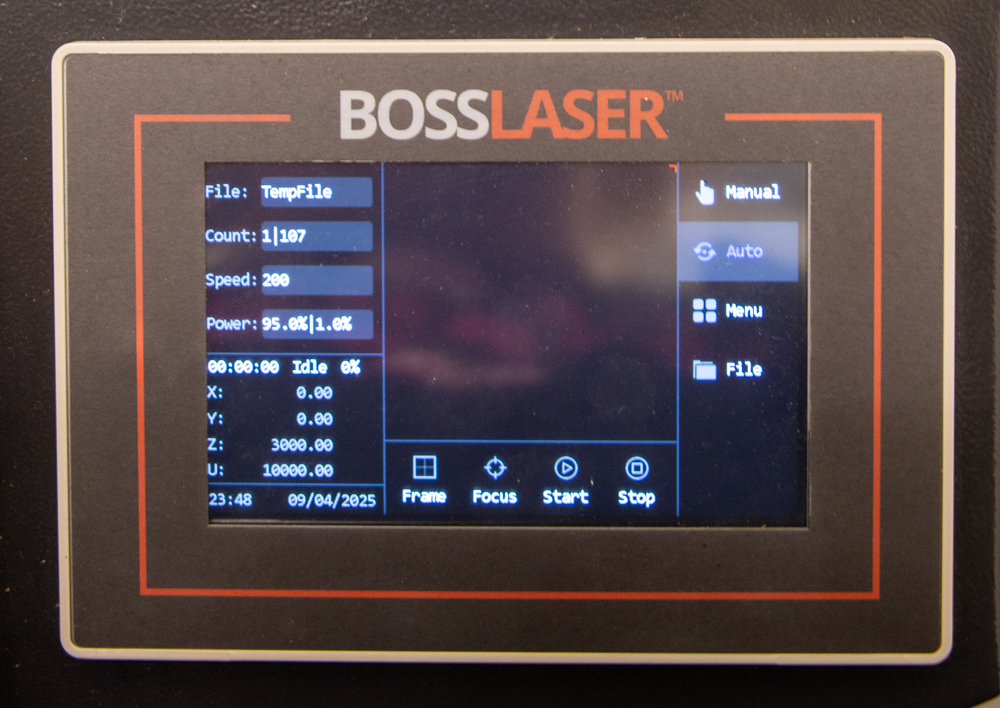
The machine will auto-home. Do not attempt to open the lid or load material until this completes.
Place your material flat on the workbed. Use rulers or jig guides to align it square to the gantry. Secure with tape or weights if necessary to prevent movement.
Use the auto-focus function on the control panel or manually focus using the focus tool. The correct distance between the laser head and material surface ensures clean, precise cuts or etching.
Once the machine is ready and all support systems are active, you may load your LightBurn project, assign your layers, and frame the design for accuracy.
Join virtual professor Wilson as he walks you through the entire startup process.